Raspberry Pi Pico case, 3D printed: 51 x 21 mm, holes at 47 x 11.4 mm, BOOTSEL access
The Pico, Pico W, Pico 2 and Pico 2 W share one footprint. Dimensions, hole pattern, how to keep BOOTSEL reachable, and a prompt for a case under 10 mm tall.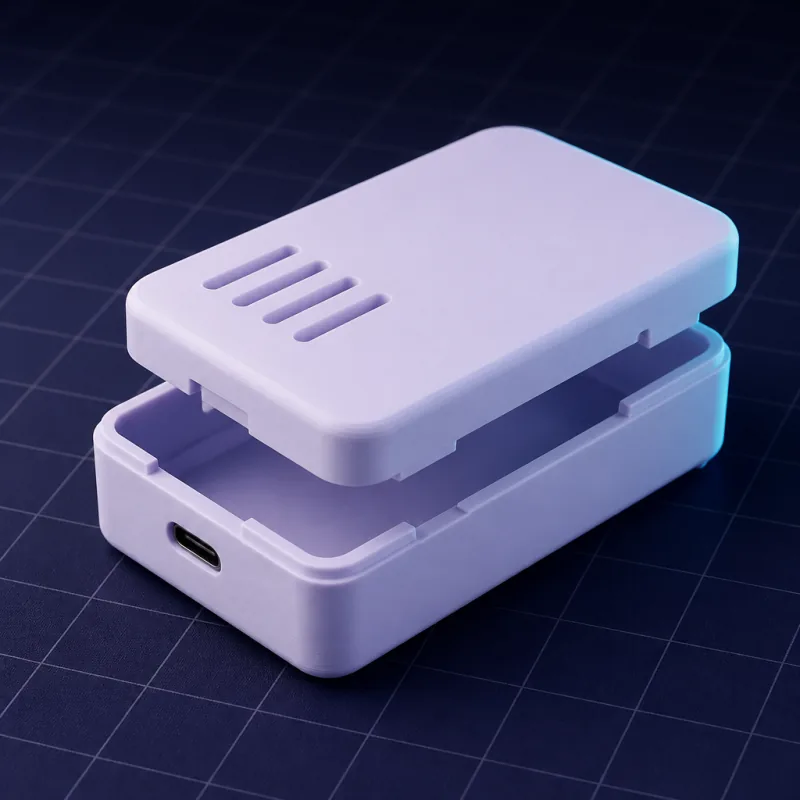
One footprint for the whole family
| Measurement | Value |
|---|---|
| Board outline | 51 x 21 mm |
| Thickness | 1 mm (thinner than most boards) |
| Mounting holes | 4 x 2.1 mm on a 47 x 11.4 mm pattern |
| USB | Micro-B on the short edge, centred, overhangs by 1.3 mm |
| BOOTSEL button | On top, about 12 mm from the USB edge, centred |
| Debug header | 3 pins on the short edge opposite the USB (Pico), a 3-pin JST-SH on the Pico 2 and W variants |
| Antenna (W models) | Far short edge, keep 3 mm clear |
| Castellated edges | Pin pitch 2.54 mm, 40 pins |
The Pico 2 and Pico 2 W keep the outline and holes, so one case serves all four boards. The only difference to mention is the antenna keep-out on the W models.
BOOTSEL matters
To flash a Pico you hold BOOTSEL while plugging in the USB. A case that hides the button forces you to open it every time. Two options:
- A 5 mm hole in the lid above the button; press with a pen.
- A printed plunger: a 4.5 mm pin captured in the lid that sits on the button. Ask for "a captive button plunger above BOOTSEL".
The prompt
Headers and the pins
If headers are soldered and pointing down, the case base needs two 2.54 mm-pitch channels 17.8 mm apart, or the board sits on the pins with 9 mm of clearance under it. If you want the pins reachable, ask for the long sides to be open above the board edge. Many Pico projects use a breakout board instead; give the breakout's outline and treat the Pico as the tallest component.
Common variants
- A keyring case with a 5 mm loop for a USB HID gadget
- A case with a 16 x 8 mm slot for a JST battery connector on a Pico-based data logger
- A panel-mount version with a flange and two 3 mm screw holes
- A dual-Pico case for a project with a display Pico and a sensor Pico
Library parts
Slim case for a Raspberry Pi Pico and Pico W enclosure with header slots open pre-filled in the builder.
Prompts to start from
Open one in the builder, change the numbers to yours, and the model renders in your browser, usually within a minute or two. Keep adjusting in the chat before you print.A slim two-part case for a Raspberry Pi Pico W, board 51 x 21 x 1 mm, four 2.1 mm holes on a 47 x 11.4 mm pattern. Two 2 mm locating pegs, 1.5 mm walls, 0.3 mm clearance, 6 mm internal height. A 9 x 4 mm micro USB cutout centred on the short edge 1 mm above the floor, a 5 mm hole in the lid above BOOTSEL 12 mm from the USB edge, 3 mm antenna keep-out at the far edge, friction-fit lid. Total height under 10 mm.
A Pico case for a board with headers soldered pointing down: 51 x 21 mm outline, two 2.54 mm pitch channels in the base 17.8 mm apart, 1.6 mm walls, 10 mm internal height, micro USB cutout, a captive 4.5 mm button plunger in the lid above BOOTSEL, snap-fit lid.
A panel-mount enclosure for a Raspberry Pi Pico 2: 51 x 21 mm board on 2 mm pegs at 47 x 11.4 mm, 8 mm internal height, a 3 mm wide flange around the base with two 3.2 mm screw holes 60 mm apart, micro USB cutout and a 5 mm BOOTSEL hole.
Questions
Yes. The Pico, Pico W, Pico 2 and Pico 2 W share the 51 x 21 mm outline, the 47 x 11.4 mm hole pattern and the USB position. Mention the W models so an antenna keep-out is added.
Ask for a 5 mm hole in the lid above the button, about 12 mm from the USB edge, or for a captive plunger so you can press it with a finger.
The Pico's holes are 2.1 mm, too small for M2.5. Pegs locate the board and the lid keeps it down, giving a case under 10 mm tall. For screws, ask for M2 standoffs.