1
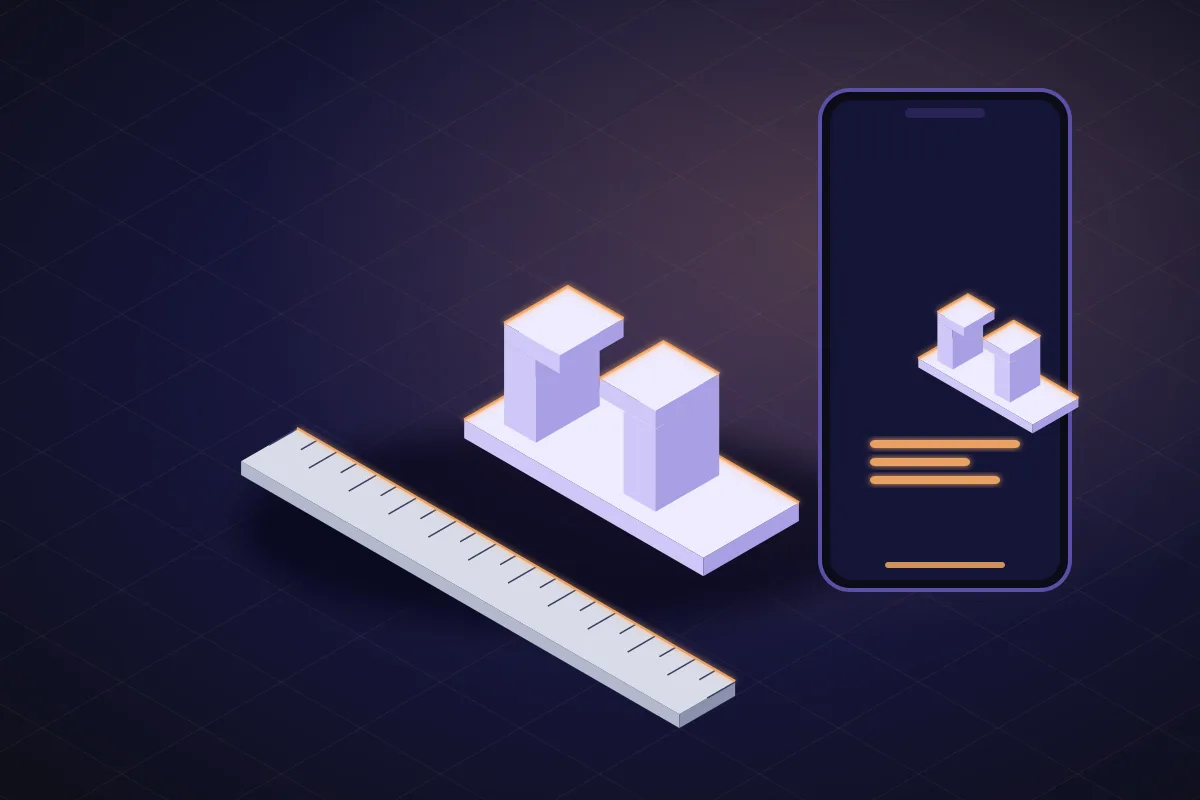
Duplicating an object in SpeakCAD means photographing it next to a ruler with your phone, from the top and from the side, and letting the AI read the scale. You get a parametric 3D model, not a scan: every dimension is a named number you can change in the chat before you download and print it.
How it works
Two photos, one ruler, one sentence
No scanner, no photogrammetry app, no point cloud to clean up. The ruler in the picture is the measuring tool; the AI does the CAD.2
Take a top view and a side view with your phone
Open SpeakCAD on your phone, tap each slot and the camera opens. Shoot straight down for the top view and level with the table for the side view. Add a close-up of any hole or clip that must fit.3
Type what it is and one measurement
Say what the object is and what it attaches to. If you can, type its longest dimension in millimetres: the AI uses it to cross-check the ruler.4
Generate, adjust, print
The AI reads the ruler, models the object as a parametric program and renders it in your browser. Change any millimetre in the chat, then download an STL, 3MF or G-code sliced for your printer and print it.The photos the app asks for
The in-app guide has one slot per photo, so you cannot forget the one that sets the scale.Top viewRequired
Object flat on a plain surface, ruler touching it on the same plane, phone straight above. This photo sets the length and width.Side viewRequired
Phone level with the table, ruler standing next to the object or lying along its height. This photo sets the height and any profile.DetailsOptional
Optional close-ups of holes, clips, threads or the face that has to mate with something else. Keep the ruler in frame when a size matters.What makes a photo measurable
Six habits that take the guesswork out of the scale.- 1A ruler or tape with millimetre marks, lying against the object, not behind or in front of it.
- 2A plain background: a sheet of paper or a bare table. Contrast helps the edges.
- 3Phone straight above for the top view, level with the table for the side view. Tilt is what ruins the scale.
- 4Daylight or a lamp from the side. No flash, no hard shadows over the ruler.
- 5The whole object and at least 30 mm of ruler in every photo.
- 6If you own callipers, measure the longest side once and type it in below; it anchors everything else.
What it is good at, and what it is not
Good for: boxes, brackets, knobs, caps, spacers, clips, lids, adapters, mounts and other parts made of flat faces, cylinders and holes.Expect ±0.5 to 1 mm from photos alone; type one measured dimension to bring the critical size to what your callipers say.Not for: organic sculptures, threads finer than M4, or internal cavities the camera cannot see. Describe those in the chat instead.
Because the result is a parametric program rather than a mesh, a copy is also a starting point: make it 2 mm wider, add the screw hole the original never had, or thicken the tab that broke. Turning the copy around and typing its numbers in the viewer are free; the photo-to-model request spends 4 credits on a plan, its first 3 small chat edits free, then 2 each (3 for the request without a plan), and a plan (from Maker at $7.99 a month) includes the download as STL or 3MF.Questions
You photograph the object next to a ruler, from the top and from the side, and tell SpeakCAD what it is. The AI reads the ruler graduations to convert pixels to millimetres in each photo, identifies the shapes (plates, cylinders, holes, slots) and writes a parametric 3D program with those dimensions. Your browser renders it live so you can compare it to the real part and correct any number in the chat before printing.
A photo has no scale: a 30 mm knob and a 60 mm knob look identical if the phone is twice as far away. A ruler in the same plane as the object gives the AI a known length to measure everything else against. Any ruler or tape with millimetre marks works; callipers held open to a known width work too.
With a ruler on the same plane and the phone held straight, overall dimensions land within about 0.5 to 1 mm. Typing one measured dimension (the longest side, or the hole that has to fit) makes that size exact and scales the rest with it. For a press fit, print once, measure, and ask for the adjustment: fixes to a downloaded design re-download for free.
No. Photogrammetry produces a heavy mesh that is hard to edit and rarely watertight. SpeakCAD produces a clean parametric model instead: every dimension is a named variable, so you can make the copy 2 mm taller, add a screw hole or change the wall thickness by typing it. Two phone photos and a ruler are enough.
Yes. Photograph what is left of the part, tell the AI what broke and what it should look like whole, and it models the complete object. You can also ask for improvements while you are at it: thicker walls where it cracked, a fillet on the corner that snapped.
A watertight STL or 3MF for your slicer, or G-code already sliced for your printer, at the price of the STL. The model stays parametric in SpeakCAD, so any dimension can be changed later. Credits cover the AI requests (4 for the copy on a plan, its first 3 small changes free, 3 without a plan, then 2 for a small change); the download is included in every plan (4 credits without one), and small fixes after a test print re-download free.
Yes, that is the easiest way: open the Duplicate page on your phone, tap each slot to open the camera, take the photos and generate. The model renders in the phone's browser too. You can also take the photos on your phone and upload them from a computer.
Related
Replacement partsBroken knob, clip, hinge or foot? Describe it with a few measurements and SpeakCAD generates a printable STL replacement in minutes.EnclosuresDescribe your PCB size, ports and mounting, get a snap-fit or screwed enclosure as a print-ready STL, 3MF or G-code sliced for your printer.STL vs 3MFSTL and 3MF both work in every slicer, but they are not equal. Learn what each format stores, when 3MF is better, and which one to download from SpeakCAD.