STL to G-code: what slicing actually does to your model
An STL is triangles; G-code is thousands of moves. What a slicer does in between (layers, walls, infill, supports, retraction) and why the printer matters.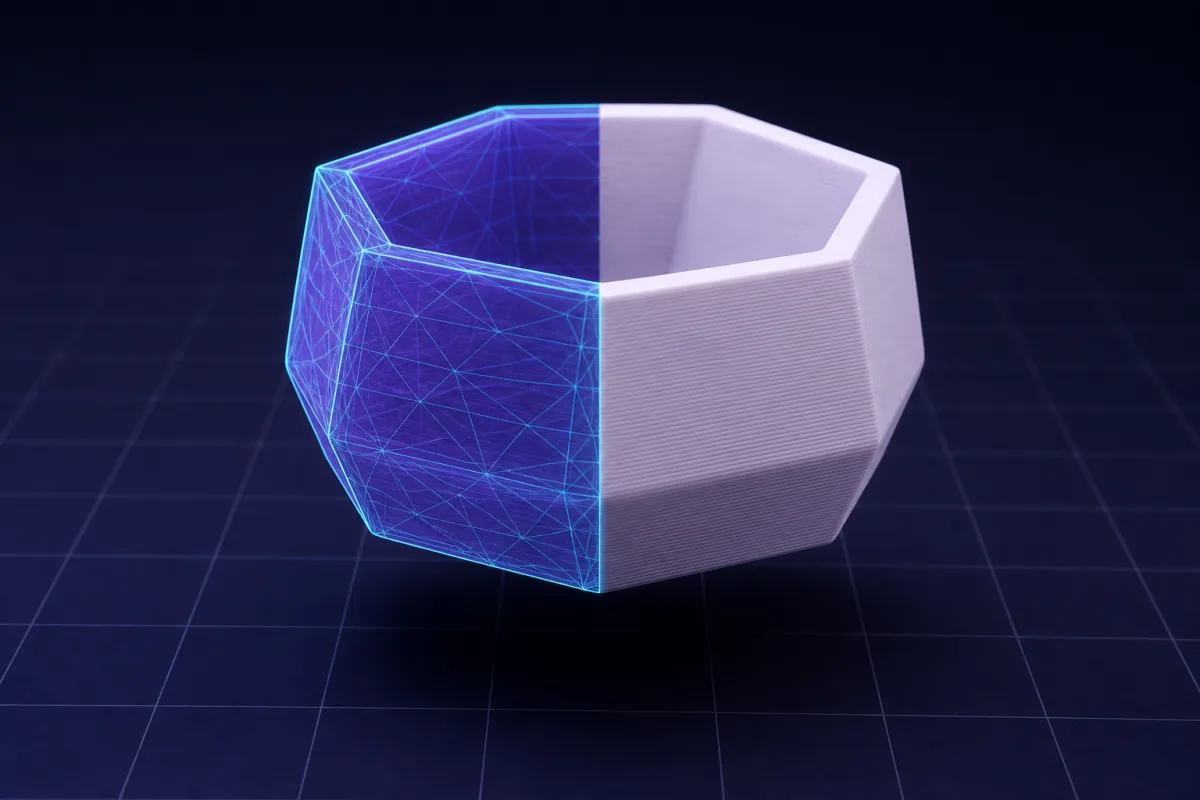
Two files that describe different things
An STL describes a surface: thousands of triangles that together enclose the shape of a part. It has no units, no layers and no idea what a printer is. G-code describes a job: a long list of instructions for one machine, in order. Here are a few lines like the ones at the start of a typical file:
text
M140 and M104 set temperatures, M190 and M109 wait for them, G28 homes the axes, and G1 moves: X, Y and Z are positions in millimeters, E is how much filament to push and F is the speed in millimeters per minute. A small part runs to tens of thousands of lines like the last one. Writing them is the slicer's job, and it happens in roughly six steps.
Step 1: cut the model into layers
The slicer intersects the mesh with a horizontal plane at every layer height. At 0.2 mm, a part 30 mm tall becomes 150 slices (the first layer is often a little thicker). Each slice is a set of closed outlines: the outside of the part and the inside of every hole.
This is where a bad mesh shows. If the triangles do not close (a gap, a flipped face, two shells overlapping), the outlines do not close either, and the slicer has to guess. Most slicers repair small errors; large ones turn into missing walls or filled-in holes.
Step 2: walls
Each outline is offset inward by the width of one extruded line (about 0.4 to 0.45 mm on a 0.4 mm nozzle), once for every wall. The outermost loop is usually printed slower for a clean surface; the inner loops hold the part together. Holes get walls too, which is why a screw hole has solid material around it.
Step 3: top, bottom and infill
Layers near the top and bottom surfaces are filled solid, a number of them set by the print profile, so the part is closed. Everything in between gets a sparse pattern at the infill percentage you chose. This is the step that makes a part 15% plastic inside instead of solid, and on a large part it is where most of the time and filament go.
Step 4: supports and adhesion
The slicer compares each layer with the one below. Where plastic would be laid over nothing, past the angle the print profile allows, it can generate supports: scaffolding printed with the part and removed afterwards. Why does my print need supports? covers how that decision is made. On the first layer it adds a brim (extra loops attached to the part to hold it down) or a skirt (loops around it that prime the nozzle) when asked.
Step 5: the path in between
The slicer now knows what to fill. It still has to order everything into one continuous path:
- Travel: moves with the nozzle not extruding, from one island to the next. Slicers route them over the part where they can, so the nozzle does not ooze across a gap.
- Retraction: before a travel, the filament is pulled back a little so it does not drip, then pushed forward again. Direct-drive extruders need a shorter retraction than Bowden ones.
- Seams: every loop starts and ends somewhere, and that point leaves a small mark. The slicer lines the seams up or hides them in a corner.
- Speed and cooling: each kind of line gets its own speed, the part-cooling fan is set layer by layer, and small layers are slowed down so the plastic has time to cool before the next one lands on it.
Step 6: the printer's own start and end
Last, the slicer wraps the path in the printer's start and end G-code: heating, homing, bed leveling, a purge line, and at the end, parking the head and switching off the heaters and motors. It records the estimated print time and filament use as comments, and adds a preview image for printers whose screen shows one.
Why the same STL gives different G-code on every printer
Almost nothing after Step 1 is universal. The G-code depends on:
- The bed: its size, and where zero is.
- The firmware: Marlin, Klipper, RepRapFirmware and Bambu Lab's firmware expect different commands and start sequences.
- The nozzle: its diameter sets the line width, and with it every wall.
- The extruder: direct drive or Bowden changes the retraction.
- The motion limits: maximum speeds and accelerations.
- The filament preset: temperatures, fan and maximum flow.
That is why G-code sliced for someone else's printer should not be printed on yours, and why a slicer asks for your exact printer and nozzle before anything else. SpeakCAD's online slicer covers 380+ printers from 60+ brands with the presets bundled with OrcaSlicer, and Bambu Lab printers receive the sliced .gcode.3mf they expect instead of plain .gcode.
What you can check without a G-code viewer
A desktop slicer's preview, or a standalone viewer such as the one that comes with PrusaSlicer, shows every line. Without one, the numbers that come with a slice already tell you a lot:
- Layers times layer height is roughly the printed height. If the printed height differs from the model's own height, the part was rotated: automatic orientation turns it onto its flattest base.
- Filament in grams is the material cost. Multiply by your spool's price per kilogram and divide by 1,000.
- Supports used, and their weight, tell you how much cleanup to expect and whether the part should be turned or redesigned.
- Print time tells you whether a coarser print profile or a lower infill is worth a try.
The online slicer gives all four with every file. Upload your STL and read them before you print; the STL to G-code page covers the conversion and the printers in more detail.
If the slicer struggles with the mesh, or the part is the wrong size, fix the model rather than the G-code: SpeakCAD's AI editor rebuilds an STL as a watertight, editable model that you change by describing the change.
Questions
An STL describes the shape of a part as triangles; G-code is the ordered list of moves, temperatures and extrusion amounts that one specific printer follows to build it. A slicer turns the first into the second.
No: converting an STL to G-code is slicing. You can do it without installing a slicer, though. An online slicer does it in the browser and returns G-code for your printer, or a sliced .gcode.3mf for a Bambu Lab printer.
You should not. The file carries the other printer's bed size, firmware commands, temperatures and start sequence, so at best it prints badly. Slice the STL again for your own printer and nozzle.
Because each printer's profile sets its own speeds and accelerations, and the filament preset caps how fast the plastic can be melted. A fast CoreXY printer finishes the same part well before an older bed slinger does.
Because every short move is a line of text. A part with many layers, walls and small details runs to hundreds of thousands of lines, so files from a few megabytes to tens of megabytes are normal.