Halloween costume parts you can 3D print in a weekend
3D print the costume parts that must fit you: belt buckles, headband mounts, LED eye holders, badges, and props split for your printer bed. Sizes and prompts.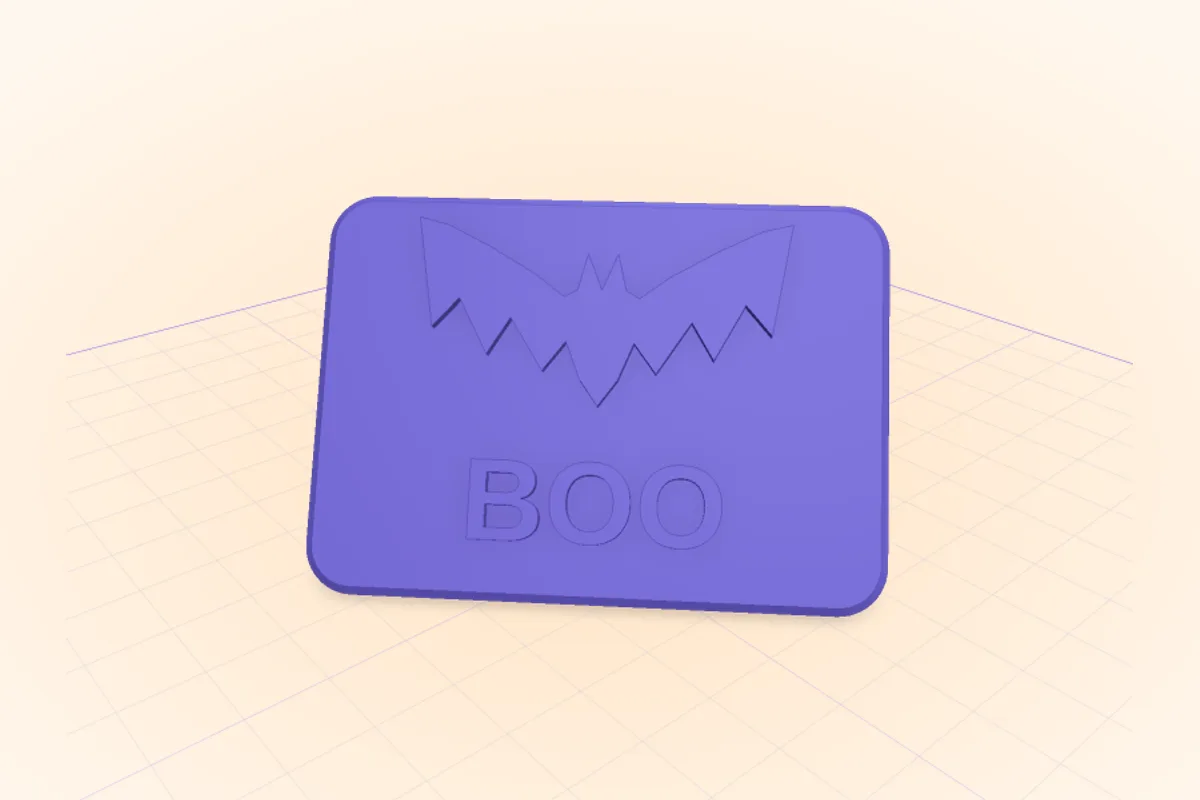
A full printed helmet is a three-week project with sanding and paint. The costume parts that make the difference are smaller: the buckle that fits the belt, the horns that stay on the headband, the LED eyes that line up behind the mask. They fit a body or a piece of clothing you own, which is exactly what a downloaded STL does not know about.
The measurements to take
| Part | Measure | Ask for |
|---|---|---|
| Belt buckle | Belt width: 25, 38 or 50 mm | A slot 2 mm wider than the belt, 4 mm deep for its thickness |
| Headband mount | Band width (10 to 25 mm) and thickness | A clip 0.3 mm wider than the band |
| LED eyes | LED diameter (3 or 5 mm), eye spacing (about 62 mm between pupils) | Sockets 0.2 mm over the LED, a curved strip that follows the mask |
| Badge or star | Where it pins | A slot or two holes for a safety pin |
| Wand or staff | Dowel diameter | A socket 0.3 mm over the dowel |
Parts that work well
- Belt buckles with a skull, a name or an emblem in raised relief.
- Horn or ear mounts that clip on a plastic headband; the horns themselves can be stylised forms the AI sculpts from simple shapes.
- LED eye holders for a mask or a pumpkin head, with a channel for the wire.
- Badges: a sheriff star, a ghost-hunter ID, a name tag, by hand with the plate shape and Text, free.
- Connectors: joints for a staff made of dowels, a clip for a cape at the shoulder, a holder for a phone torch on a strap.
- A stylised skull for a ring, a pendant or a staff head. SpeakCAD sculpts stylised figures in its own CAD: recognisable and printable, not a scan-quality anatomical skull. For a detailed sculpture, a model site is the better place to start, then change its size or add a mount.
Bigger than your printer bed?
A crown, a mask or a shield wider than the bed can be split into parts that join with pegs and holes: ask for "split it into two halves along the middle with three 5 mm pegs and 5.3 mm holes". Each half lands in the same file, and the virtual bed shows whether each fits your printer.
Comfort and safety
- Round every edge that touches skin: the Fillet and Round tools do it by hand, or ask "round all edges 1 mm".
- Light wins over thick. 2 mm walls and 10 to 15 % infill are enough for props; a heavy prop pulls a headband off.
- No realistic weapon replicas in public: many events and schools ban them. A bright colour or an obvious fantasy shape avoids the question.
Two days, not three weeks
Saturday morning: measure, describe, check the render, print. Saturday evening: print the second part while the first is fitted. Sunday: paint. Each change is a sentence: "make the slot 2 mm wider" is a quick edit (1 credit). Shaping a part by hand (a hole, a cut, an added shape, text, rounded corners, a shell, every size typed in millimetres) is free, and so is downloading what you shaped. With the AI, a new part or a design change spends 3 credits, a small change 2 credits and a quick edit (a changed size or number) 1 credit; downloads are included in every plan, 4 credits without one. A new free account also gets its first AI part free (not offered in every country): some accounts get the credits right away, others confirm with a card first (a free trial, nothing charged that day); downloading the part spends 4 credits without a plan, like any AI work (every plan includes downloads).
The Halloween code: SPOOKY40
40% off your first month of any plan with the code SPOOKY40, until 2 November (first subscription). It applies itself at checkout when you came through one of these Halloween pages, and you can type it on the payment page too. Start with Maker: 50 credits a month for $7.99, cancel anytime. The hand tools, and the download of what you shape with them, are free without it. Every Halloween part and its prompt on one page: Halloween 3D prints.
Prompts to start from
Open one in the builder, change the numbers to yours, and the model renders in your browser, usually within a minute or two. Keep adjusting in the chat before you print.A costume belt buckle for a 38 mm belt: a rounded rectangle 70 x 50 x 5 mm with a raised skull emblem 2 mm high on the front, and on the back a 40 x 4 mm slot for the belt and a 6 mm hook bar, all edges rounded 1 mm
A headband clip for a plastic headband 12 mm wide and 2 mm thick, with a curved devil horn standing 60 mm tall on top, 18 mm wide at the base tapering to a point, hollow with 2 mm walls
An LED eye holder for a mask: a curved strip 100 mm long, 20 mm tall and 3 mm thick following a 90 mm radius, with two 5.2 mm LED sockets 62 mm apart and a 3 mm wire channel along the back
A ghost-hunter badge 80 x 50 x 3 mm with rounded corners, the words GHOST PATROL raised 1 mm in letters 8 mm high, a ghost outline above them, and a 25 x 3 mm slot on the back for a safety pin
Questions
Belt buckles, headband horns and ears, LED eye holders for masks, badges, wand and staff connectors, cape clips and small props. The parts that must fit you or your clothes are the ones worth designing to your measurements rather than downloading.
Split it. In SpeakCAD, ask for the part in two or more pieces joined by pegs and holes with 0.3 mm clearance; the virtual bed of your printer shows whether each piece fits.
It sculpts stylised figures (a skull, horns, a bat, a ghost) from simple shapes in its own CAD: printable and recognisable, not scan-quality sculpture. For a detailed sculpture, start from a model site and use SpeakCAD to resize it or add a mount.