Custom Halloween cookie cutters: 3D print a bat, a ghost or a name
3D print Halloween cookie cutters that cut clean: edge thickness, height, a pressing flange, a name inside, and how to use printed cutters safely with food.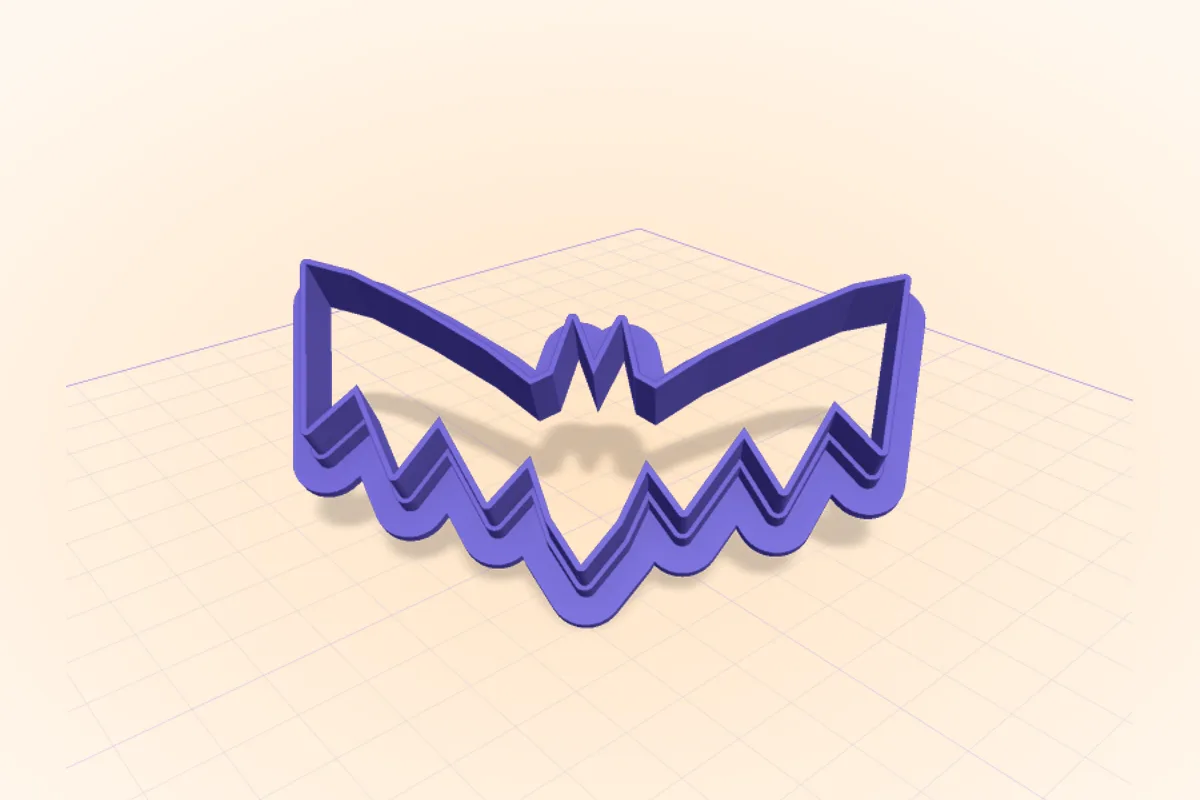
A cookie cutter is the friendliest first print for a kid: a shape they chose, in the evening's colour, in the kitchen the next afternoon. It is also a part with real numbers. Too thick an edge squashes the dough instead of cutting it; too short and it fills with dough; no flange and it hurts the palm.
The numbers that make it cut
| Part | Size | Why |
|---|---|---|
| Cutting edge | 0.8 to 1 mm | Two lines from a 0.4 mm nozzle: thin enough to cut, strong enough not to snap |
| Height | 12 to 15 mm | Rolled dough is 4 to 6 mm; the rest keeps your fingers out |
| Pressing flange | 3 to 5 mm wide, 2 mm thick, around the top | Spreads the push over your palm, stiffens the outline |
| Smallest inside detail | 4 mm | A narrower notch (a bat's ear) fills with dough and tears |
| Overall size | 60 to 100 mm | Bigger cookies break when you lift them |
Print the cutter flange down, edge up: the flange is the first layer, the edge is the last and the cleanest.
Shapes that work
- Silhouettes: a bat with spread wings, a ghost, a pumpkin, a cat with an arched back, a witch's hat, a tombstone. Outlines with few thin points cut best.
- A name. Letters as a stamp inside a round or tombstone cutter: the letters stand 1 mm lower than the cutting edge, so they press the name into the dough without cutting it.
- Two-part sets: an outline cutter plus a separate stamp for the face, printed side by side in one file.
Describe the shape, its width and the edge thickness as numbers: the AI builds the cutter as a parametric model, so the edge, the height and the flange stay numbers you can change. A silhouette is drawn as a stylised outline, not traced from a photo: if the first bat is too round, say "make the wing tips sharper and the ears longer" (2 credits).
Using printed cutters with food
Printed cutters are widely used for cookies, with a few precautions:
- Short contact only. Cut, then let go: a printed cutter is not a storage container. Layer lines can trap dough and bacteria, so wash it right away in warm, not hot, soapy water with a brush, and dry it.
- No dishwasher. PLA warps above about 55 °C. PETG holds more heat but scratches the same way.
- Clean filament and nozzle. Use plain PLA or PETG from a brand that states food-contact compliance for the raw material, and a stainless steel nozzle rather than an old brass one.
- Cling film over the dough before you press removes most of the question, and the edge still cuts through it.
- Treat it as a seasonal tool. Reprint it next year rather than keep a cracked one.
Make it
Describe the cutter (the prompts below are ready), check the outline in 3D, and change what you want by chat: wider, a deeper stamp, the name in bigger letters. With a name, check the spelling in the render before you print. Shaping a part by hand (a hole, a cut, an added shape, text, rounded corners, a shell, every size typed in millimetres) is free, and so is downloading what you shaped. With the AI, a new part or a design change spends 3 credits, a small change 2 credits and a quick edit (a changed size or number) 1 credit; downloads are included in every plan, 4 credits without one. A new free account also gets its first AI part free (not offered in every country): some accounts get the credits right away, others confirm with a card first (a free trial, nothing charged that day); downloading the part spends 4 credits without a plan, like any AI work (every plan includes downloads).
The Halloween code: SPOOKY40
40% off your first month of any plan with the code SPOOKY40, until 2 November (first subscription). It applies itself at checkout when you came through one of these Halloween pages, and you can type it on the payment page too. Start with Maker: 50 credits a month for $7.99, cancel anytime. The hand tools, and the download of what you shape with them, are free without it. Every Halloween part and its prompt on one page: Halloween 3D prints.
Prompts to start from
Open one in the builder, change the numbers to yours, and the model renders in your browser, usually within a minute or two. Keep adjusting in the chat before you print.A Halloween cookie cutter in the shape of a bat with spread wings and pointed ears, 90 mm wide: a 0.9 mm cutting edge 14 mm tall, and a flange 4 mm wide and 2 mm thick around the top edge for pressing, printed flange down
A ghost cookie cutter 80 mm tall with a wavy bottom edge and two oval eye stamps inside standing 1 mm lower than the cutting edge: 0.9 mm cutting edge 14 mm tall, 4 mm wide flange 2 mm thick
A round cookie cutter 75 mm across with the name EMMA as a stamp inside, letters 16 mm high, 1.2 mm thick, standing 1 mm lower than the 0.9 mm cutting edge, tied to the flange by two thin bars, 14 mm tall overall
A pumpkin cookie cutter 85 mm wide with a short stem and a leaf, 0.9 mm cutting edge 13 mm tall, and a separate jack-o'-lantern face stamp that fits inside it with 1 mm clearance, side by side in one file
Questions
The cutting edge 0.8 to 1 mm (two lines from a 0.4 mm nozzle), 12 to 15 mm tall, with a flange 3 to 5 mm wide and 2 mm thick around the top to press on.
They are fine for the short contact of cutting dough if you use a plain PLA or PETG, a stainless nozzle, wash the cutter right after use in warm water, and keep it out of the dishwasher. Layer lines can trap residue, so do not store food in printed parts. Cling film over the dough avoids contact altogether.
Yes. Ask for the name as a stamp inside the cutter, its letters 1 mm lower than the cutting edge, so the name is pressed into the cookie. SpeakCAD builds it from your description and the spelling is checked in the 3D render before you print.