Add text, a hole or a mount to a model you downloaded, without learning Blender
The four most requested additions to a downloaded model (a label, a screw hole, a wall mount, a lid) and the sentence that adds each one to an uploaded STL.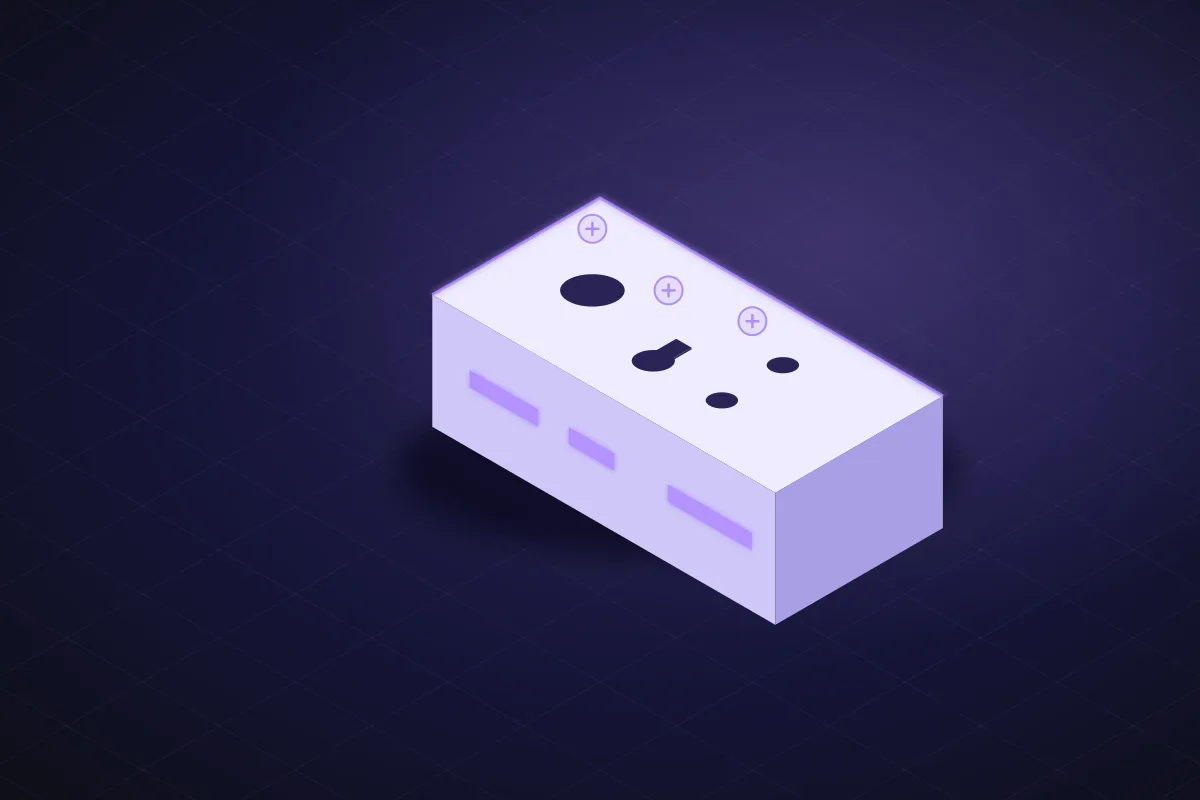
The additions people actually want
Look through the remix requests on any model page and the same four come up: put my name on it, add a screw hole, make it mount on the wall, give it a lid. Each one is a boolean operation in CAD terms, which is easy in a parametric tool and tedious in a mesh editor. Here is each one as a prompt against an uploaded STL.
1. Text: a label, a name, a size
Two choices: embossed (raised) or engraved (cut in). Engraved text prints cleaner on a top face; embossed text prints cleaner on a vertical face because there is nothing to bridge. Keep letters at least 5 mm tall and 0.6 to 1 mm deep.
If the file is a download, upload it and add "this is a drawer organizer" so the AI knows which face is the lid. The text is a named parameter afterwards, so "make it say BATHROOM" is a second sentence and re-downloads free if you have already downloaded the file.
On a flat face you can also do it by hand, free, since October 2026: open the file with no change typed, tap Text, tap the face, type the words, choose Raised or Engraved and the Letter height. Add raised or engraved text to a 3D print shows it; the AI remains the way for text on a curved face.
2. A hole: for a screw, a cable, a peg
Give the diameter, where it goes and what it is for. The purpose sets the clearance: an M3 clearance hole is 3.4 mm, a hole for a 3 mm peg that must stay put is 2.9 mm.
By hand, the Hole tool does the same on the face you tap, free, with a Screw head choice for a countersink or a counterbore and Duplicate for a row or a circle of holes (Countersink or counterbore a screw hole, Duplicate a hole in a row, a grid or a circle).
For boards, name the board instead of listing holes: "add Raspberry Pi 4 standoffs on the floor" gives you the 58 x 49 mm pattern with 2.7 mm holes.
3. A mount: wall, desk edge, rail
A wall mount is usually a keyhole slot or a pair of screw tabs; a desk mount is a clamp or a lip; a rail mount is a DIN clip or a slot for a 2020 extrusion nut.
The mount is added as its own feature with the right wall thickness behind it, and it is oriented so the part still prints flat.
4. A lid: snap, screw, slide or friction
A lid is the hardest addition in a mesh editor because it has to match the box exactly. In a parametric rebuild the lid is generated from the same numbers as the box, so it fits by construction.
Both parts are laid side by side on the bed in one file, or ask for them separately.
Combine them in one message
You do not have to go one feature at a time:
The first render includes all four. If one is wrong ("the cable hole is on the wrong side"), fix that one; the others stay.
Why this is easier than a mesh tool
In Blender each of the four is a boolean modifier on a mesh that was never meant to be edited: you add a cylinder, position it by eye or by typing coordinates, apply the boolean, and hope the result is manifold. The lid alone is an afternoon. Here every feature is a parameter of a program that reproduces the part, so it lands where you said and the output is watertight because it was built from solids. The thing you give up is fidelity to sculpted detail, which functional downloads rarely have.
Prompts to start from
Open one in the builder, change the numbers to yours, and the model renders in your browser, usually within a minute or two. Keep adjusting in the chat before you print.Attached is a battery box I downloaded. Add a sliding lid with a fingernail notch, two keyhole slots on the back 50 mm apart for #8 screws, a 6 mm cable hole low on one short side, and engrave AA x4 on the lid 6 mm tall.
Attached is a headphone hook. Add two M4 countersunk holes 30 mm apart on the mounting plate and emboss my initials GS 1 mm high on the front.
Attached is a parts bin. Add a snap-fit lid with two clips on the long sides and a 30 x 12 mm label recess on the front, 0.6 mm deep.
Questions
Yes. On a flat face, by hand: open the file with no change typed, tap Text, tap the face, type the words and choose Raised or Engraved and the Letter height, free. Or upload it with a sentence that says which face, embossed or engraved, and the height, which is an AI request. Engraved text prints best on top faces, embossed on vertical faces; keep letters 5 mm or taller.
Give the screw size, the position and the purpose. M3 clearance is 3.4 mm; a peg that must hold is 0.1 mm under size. The hole is added as a named feature you can move later with one sentence.
Yes, because the lid is generated from the same numbers as the box rather than modelled against the mesh by eye. Ask for snap, screw, sliding or friction fit; the clearance is set for PLA and PETG and you can adjust it.