Copy a part you already own, then fix what was wrong with it
Copy a broken bracket, clip or foot from phone photos and improve it in the same session. The three edits that fix most originals, and how to print it stronger.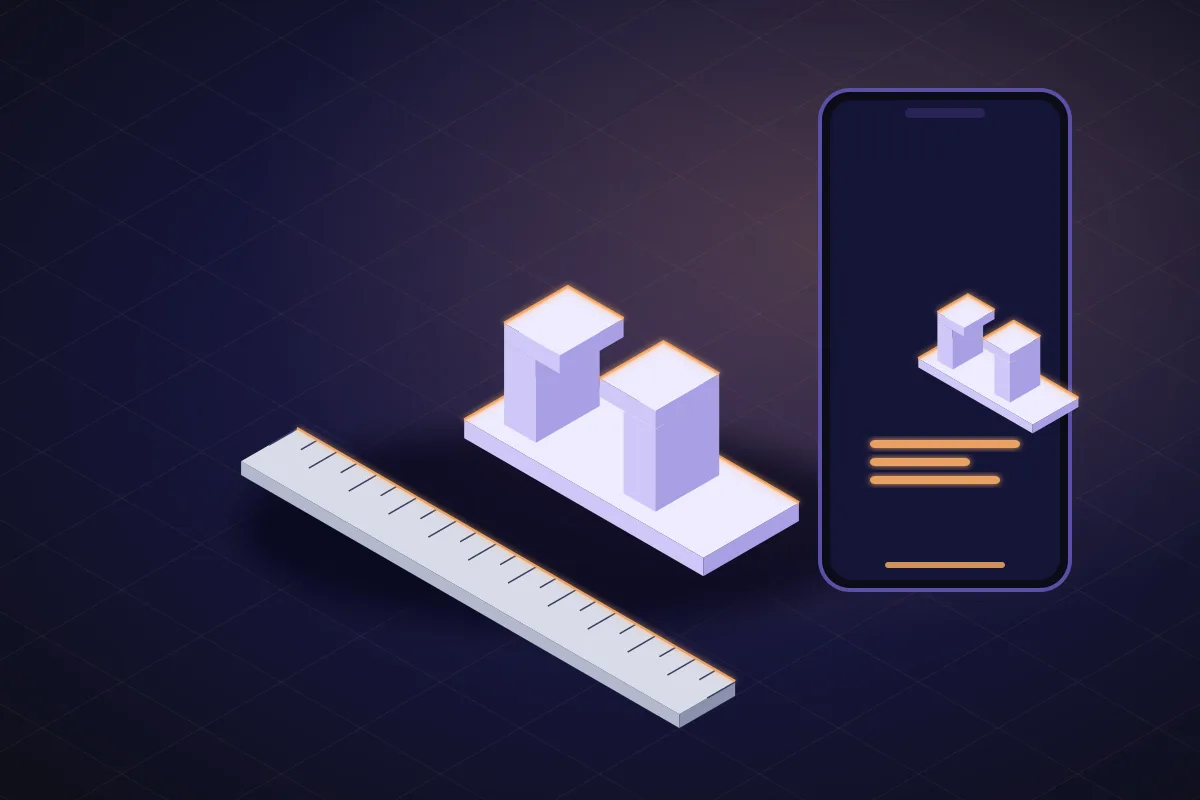
The original was not that good
Most parts that break were designed to be cheap, not strong. The clip that snapped was 0.8 mm thick because it was injection moulded in a thousandth of a second. The foot that fell off was glued because a screw cost more. The bracket cracked at a sharp inside corner because nobody paid for a fillet.
When you copy such a part for printing, you have a choice: reproduce the weakness or fix it. Since the copy is a parametric model, fixing it is a sentence.
Step 1: copy it
Open Duplicate an object in the app. Photograph the part next to a millimetre ruler from the top and from the side, add a close-up of any hole or clip, and write one line about what it is: "a fridge shelf clip that hooks over 3 mm glass". The AI reads the ruler for scale, models the part as a parametric program, and lists the dimensions it read so you can check them against callipers. If you measured the longest side, type it in and everything scales to it. The photo guide covers what makes a photo measurable.
Expect the copy to be within about half a millimetre to a millimetre from photos alone. Mating dimensions (the hole, the slot, the shaft) are worth measuring with callipers and typing in.
Step 2: fix what broke it
Three edits fix most originals.
Thicken the part that failed. Printed plastic is weaker than moulded plastic along the layer lines, so the copy usually needs to be thicker where the original was already marginal.
Fillet the corner that cracked. A sharp inside corner concentrates stress. A 1 to 2 mm fillet spreads it.
Change the fastening. The glued foot becomes a screwed foot; the press-fit peg gets a set screw; the snap tab becomes a hook.
Each edit shows the previous version as a ghost so you can confirm that only the arm thickness changed and the fit dimension stayed put.
Step 3: decide the print orientation with the AI
Layer lines are the difference between a copy that lasts and one that breaks the same way. Tell the AI how the part is loaded and it will orient the part, or split it, so the load runs along the layers rather than across them:
For a hook or a bracket loaded in bending, printing on its side is often the answer, and the AI will add a flat face for it if there is none.
Step 4: print, test, adjust
The first print tells you whether the fit is right. If the clip is a shade tight, say "0.2 mm more clearance on the glass slot" and re-download free. If the arm still flexes too much, "1.8 mm arms" is the second free re-download. Each of those chat requests spends 2 credits (typing the number in the viewer is free), but small fixes after a download never cost a second download.
When to copy and when to redesign
Copy when the part has to mate with something you cannot change: the glass shelf, the appliance shaft, the hole pattern on the wall. Redesign when the original's shape was arbitrary and you only need its function; describing "a hook that holds a 25 mm shelf edge with a 40 mm drop" is faster than photographing the flimsy one and takes the same number of credits.
Material note
For replacement parts that live in a fridge, a car or outdoors, PETG or ASA outlast PLA. Mention the material and the AI leaves a little extra clearance for PETG's tendency to print wide.
Prompts to start from
Open one in the builder, change the numbers to yours, and the model renders in your browser, usually within a minute or two. Keep adjusting in the chat before you print.A fridge shelf clip copied from the attached photos: hooks over 3 mm glass, tab slots into a 4 x 12 mm hole. Make the arms 1.6 mm instead of 1.0, add a 1.5 mm fillet on the inside corners and 0.2 mm clearance on the glass.
A replacement foot for a kitchen scale copied from the photos, 22 mm diameter, 8 mm tall. Replace the glue pad with a 3.4 mm screw hole and a countersink, and add a 1 mm chamfer at the base.
Questions
Yes. Photograph it next to a millimetre ruler from the top and the side with your phone, say what it is, and the AI models a parametric copy. Accuracy is about half a millimetre to a millimetre from photos; type in any dimension you measured with callipers and it is used exactly.
Thicken the section that failed, fillet sharp inside corners, and print so the load runs along the layer lines. Each is one sentence in the chat, and the ghost view shows that only that feature changed.
Not for the file: downloads are included in every plan, and without one the copy costs 4 credits and small fixes afterwards (a fit clearance, a thicker arm) re-download free. Asking the AI for the fix is one request (2 credits, 1 for a quick edit such as a thicker arm); typing the new number in the viewer is free.