Photograph it, print it: duplicating a broken part with your phone camera and a ruler
No 3D scanner needed. Two phone photos with a ruler in frame and one sentence give you a parametric copy of a knob, clip or bracket you can correct and print.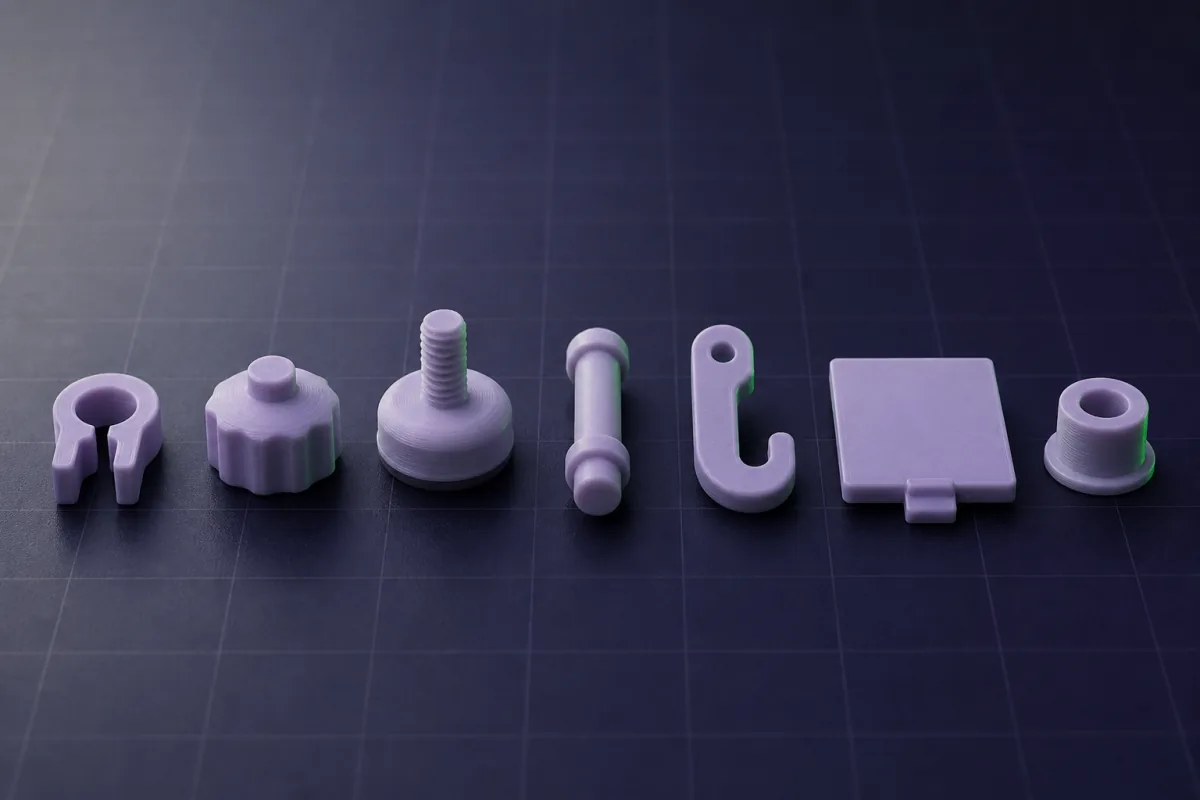
The problem with scanning
Phone 3D scanning apps produce a mesh: bumpy, hollow in the wrong places, with no idea where the hole is or how thick the wall should be. Cleaning one up into a printable part takes longer than modelling from scratch. And you still need to know the dimensions, because a scan is only as accurate as its scale reference.
What SpeakCAD does instead
It does not scan. It reads. You put the part next to a millimetre ruler, take a top view and a side view with your phone, and say what the object is: "a drawer knob with an M4 thread", "a clip that holds a 12 mm rod". The AI reads the ruler to convert pixels into millimetres, recognises the shape, and writes a parametric program for it. You get a clean CAD model with named dimensions, not a mesh, and the AI lists the numbers it read so you can check them.
The two photos
- Top view. Ruler on the same plane as the part, phone straight above. Sets length and width.
- Side view. Ruler standing beside the part, phone level with it. Sets height and profile.
Good light, plain background, ruler close to the part. That is all the technique there is.
Accuracy
From photos alone, expect ±0.5 to 1 mm. That is enough for a knob or a hook; it is not enough for a press fit. So after the model appears, measure the one dimension that matters with callipers and type it: "the bore is 6.05 mm". The copy snaps to it and the rest scales consistently. Two measurements and a photo beat a scan every time.
What duplicates well
- Knobs, caps, feet, spacers, bushings
- Clips and hooks with a clear profile
- Brackets and plates with holes
- Lids and covers for boxes you still have
- Battery covers, remote backs, drawer pulls
What does not
Organic shapes with no straight reference, transparent parts, tiny parts under 10 mm where the ruler's tick marks are coarser than the detail, and internal geometry the camera cannot see (you can describe it instead).
Why it is a mobile feature
The camera is on the phone. The broken part is in your hand. The Duplicate flow guides the two shots, and the model renders on the same screen. Then you print it, and if the thread is a hair tight you type the number and re-download for free.
Example
A washing machine knob, 38 mm across, split down the middle. Two photos, "a control knob with a 6 mm D-shaft, the pointer at the top". The AI read 38.2 mm, modelled the skirt, the pointer and the D-bore. Callipers said the shaft flat was 4.5 mm; typed it. Printed in PETG, on the machine an hour after the photos.
Prompts to start from
Open one in the builder, change the numbers to yours, and the model renders in your browser, usually within a minute or two. Keep adjusting in the chat before you print.A replacement control knob for a washing machine: 38 mm diameter, 22 mm tall, a 6 mm D-shaft bore with a 4.5 mm flat and a 0.2 mm press fit, a pointer line embossed on top, 12 grip flutes around the skirt.
A replacement foot for a laptop: 12 x 12 x 3 mm with a 6 mm diameter 2 mm tall peg underneath and a 1 mm chamfer on the top edge, times four on the bed.
Questions
No. Two ordinary photos with a ruler in frame are enough. The AI reads the ruler for scale and models the part as a parametric program, which is cleaner and more editable than any scan.
About ±0.5 to 1 mm from the photos alone. Measure the one fit that matters with callipers and type it; the model snaps to that number.
Say the thread size in the sentence ('M4', 'M8 coarse'). Printed threads work well from M8 up; for smaller threads ask for a hole to tap or a heat-set insert pocket.