CAD on an iPad without a stylus: let the AI do the geometry and use the tablet for deciding
Tablet CAD apps assume a Pencil and a learning curve. A describe-and-render tool turns an iPad or Android tablet into a fast parametric CAD station with STL export.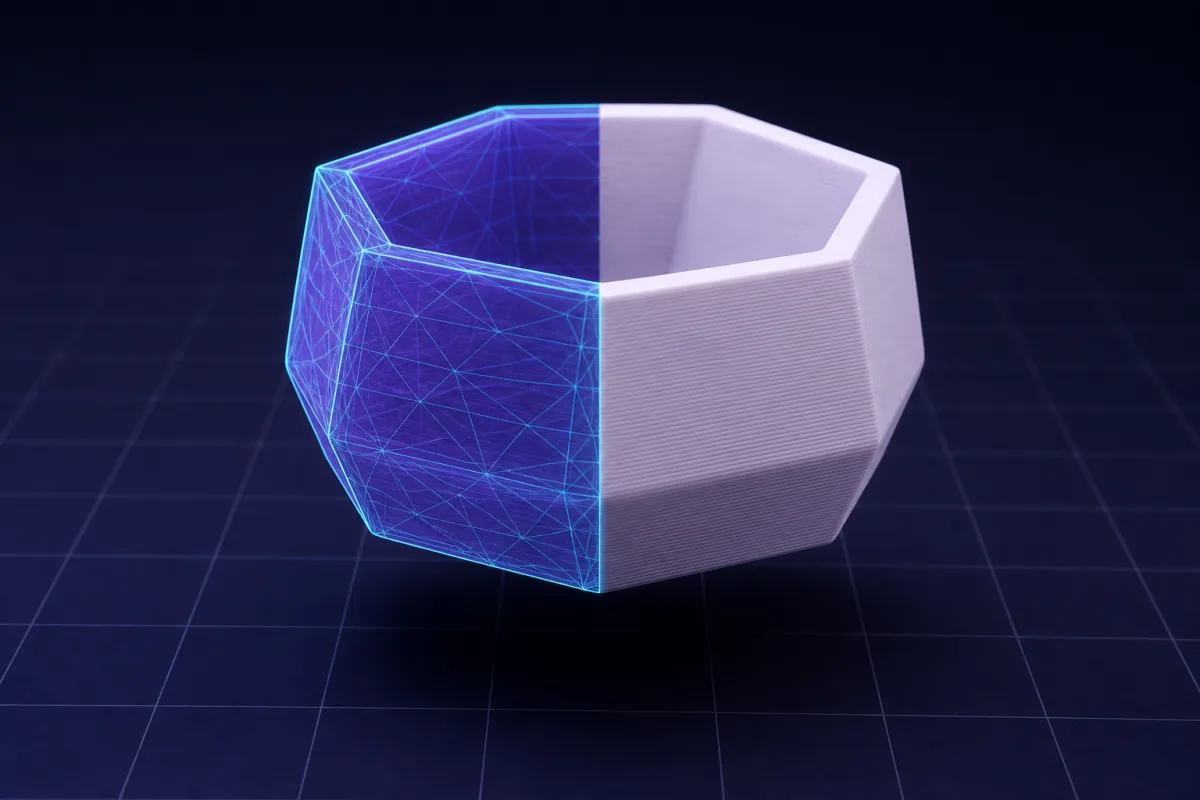
The iPad is a great CAD screen and a poor CAD input
A 11 or 13 inch tablet shows a render better than most laptops. What it lacks is a mouse: hovering, right-clicking, precise dragging, keyboard shortcuts. Shapr3D solved this with the Apple Pencil and years of gesture design, and it is a fine tool if you are willing to learn it. Most people who want a bracket are not.
Describe-and-render CAD removes the input problem. The geometry is specified in words with numbers, the AI writes the parametric model, and the tablet does what it is best at: showing the result large and letting you orbit it.
A tablet workflow
- Open SpeakCAD in Safari or Chrome. On a tablet the chat sits beside the viewer, like the desktop layout.
- Describe the part. A hardware keyboard helps for long prompts but the on-screen one is fine; most prompts are one sentence.
- Orbit the render with a finger, pinch to zoom, tap a face to see its dimensions.
- Edit by chat or tap a face and type a new number.
- Download STL or 3MF. Files land in the Files app and go anywhere from there.
Things a tablet does better than a phone
- Split view. Keep a datasheet or a photo of the part open next to the builder.
- Bigger ghost compare. The translucent overlay of the previous version is easier to read at 11 inches.
- Longer prompts. Enclosures with six cutouts are comfortable to type.
- Slicing. Some slicers run on a tablet browser or as an app; the STL never has to leave the device.
Things a tablet does not need
A stylus, a subscription to a desktop CAD suite, a tutorial series. If you already own Shapr3D and enjoy it, SpeakCAD is not a replacement for assemblies and drawings. It is the faster path for the parts most makers print: brackets, boxes, holders, knobs, adapters, replacement parts.
Precision on a touch screen
None of the precision comes from touch. A 22.2 mm bearing pocket is 22.2 mm because you typed 22.2. The touch screen only decides what you are looking at. That is why the same tool works on a 6 inch phone and a 13 inch tablet with no loss.
An example session
Render, orbit, "make the notches 8 mm wide", "add a label recess on the front", download. Five minutes on a tablet, on the sofa, with the cells in your other hand for reference.
Prompts to start from
Open one in the builder, change the numbers to yours, and the model renders in your browser, usually within a minute or two. Keep adjusting in the chat before you print.A holder for six 18650 cells standing upright: 18.6 mm bores 40 mm deep in a 2 x 3 grid with 3 mm between cells, 2 mm walls, a finger notch on each bore, and four 3.2 mm holes in the base.
A tablet wall dock for a 250 x 175 x 7 mm tablet: two lower hooks 20 mm deep with a 10 mm cable gap, a top lip, a 15 degree lean, and four 4.5 mm screw holes.
Questions
Yes with a describe-and-render tool: dimensions come from typed text, so no stylus precision is needed. Traditional tablet CAD like Shapr3D is designed around the Pencil.
It runs in Safari on iPad with no install and uses the side-by-side layout. Add it to the home screen for an icon.
Some printer ecosystems have tablet apps that accept STL or 3MF and slice in the cloud (Bambu Handy, Creality Cloud). Otherwise send the file to a laptop slicer with AirDrop or a cloud folder.