Fillet or chamfer? What rounds well on an FDM printer
Fillet versus chamfer for 3D printing, edge by edge: vertical corners, the bottom edge, overhangs, inside corners. What prints cleanly, what needs support, and how to get each one on a phone.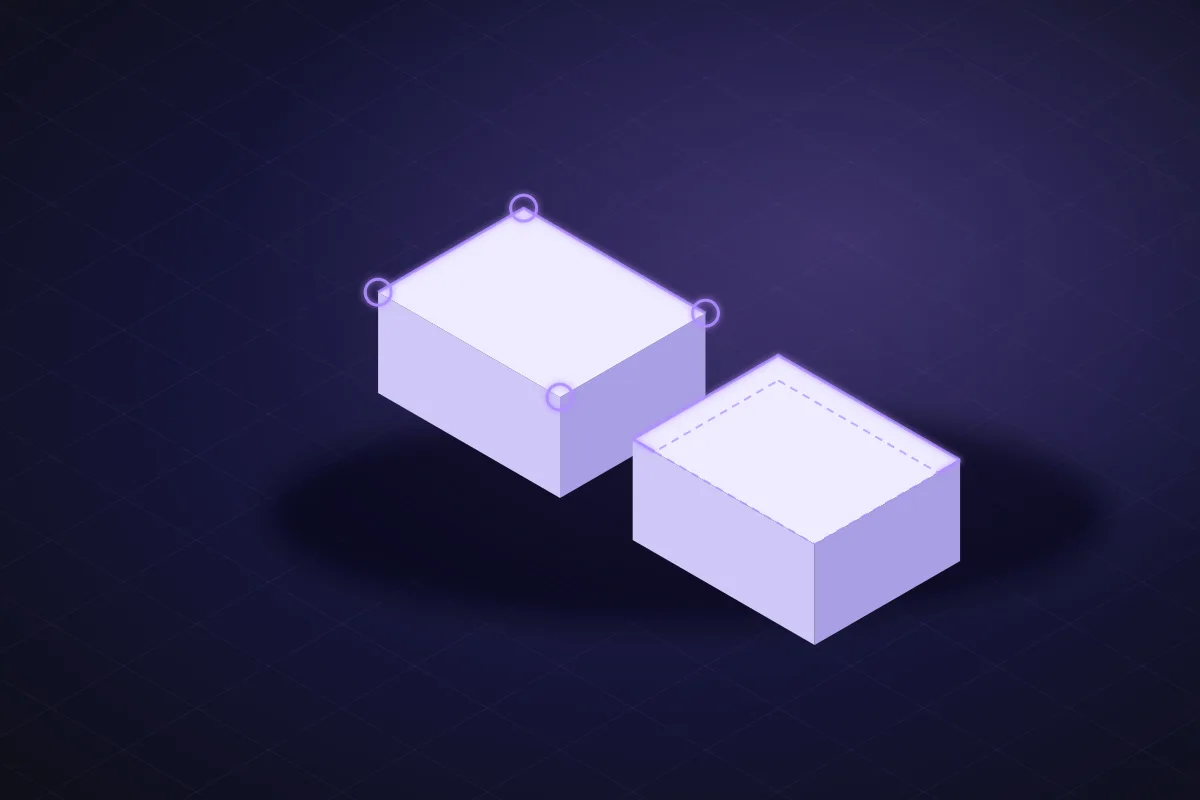
A fillet is a rounded edge. A chamfer is a flat cut across the edge, usually at 45°. Both take the sharpness off a part. On a milling machine the choice is about tooling; on an FDM printer it is about layers, and the answer changes with the direction the edge faces. Here is the whole decision in one table, then the reasons.
The table
| Where the edge is | Use | Why |
|---|---|---|
| Vertical corners of a box or plate (they touch the bed) | Fillet, 2 to 6 mm | The nozzle flows around a curve without stopping; sharp corners lift off the bed first |
| Bottom edge, where the part meets the bed | Chamfer, 0.4 to 1 mm | Hides the elephant's foot (the squashed first layer) and lets lids and stacked parts fit |
| Top edges, facing up | Fillet or chamfer, either | Thin layers up there; both print cleanly, a fillet looks softer |
| Edge facing down over air (a ledge, a lip) | Chamfer at 45° | Prints without support; a fillet starts almost horizontal and droops |
| Inside corner of a pocket | Fillet, at least 1 mm | Spreads the stress that starts a crack; the nozzle cannot do a sharp inside corner anyway |
| Junction of a wall and a floor, or a bracket's two legs | Fillet, 2 to 3 mm | Strength across layer lines; a chamfer there works too but adds less |
| A hole's rim | Chamfer, 0.5 mm | A countersink that guides the screw and hides the first-layer bulge if the hole is on the bottom |
Why vertical corners want a fillet
The first layer is where prints fail. A sharp corner is where the nozzle slows, reverses, and leaves a little extra plastic that cools and shrinks and pulls the corner up off the bed. A 3 mm fillet gives the toolhead a curve to follow at speed, and the corner stays down. This is also the edge your hand meets on a case or a tray, so it is the one worth rounding for comfort.
In SpeakCAD, this is the Round tool: tap it in the rail, tap the top face of the part, set the Radius, press Apply round corners. It rounds the corners of the tapped face's outline, which on a box or a plate tapped from above are exactly these vertical corners. The starters (box, plate, tray) come with them rounded already, with the radius as a number you can type.
Why the bottom edge wants a chamfer
The first layer is squashed into the bed for adhesion, so the bottom edge of every print bulges out by 0.1 to 0.3 mm: the elephant's foot. A lid that should slide onto a box jams on it; two parts that should stack rock on it. A 0.5 mm chamfer at the bottom edge removes the bulge's footprint, and the first layer starts a hair inside the part's true outline. A fillet there does not work: its lowest part is almost horizontal and prints as a ragged ring.
On a phone this is a sentence to the AI: "chamfer the bottom edge 0.6 mm". It is one request, 2 credits, because the chamfer runs along edges that are not parallel to a face you can tap.
Why a downward edge wants a chamfer
Printers lay plastic on plastic. An edge that faces down over air, the underside of a ledge, the lip of a hook, is an overhang. A 45° chamfer under it is the steepest angle that prints cleanly without support. A fillet under it starts nearly horizontal at its tangent, which is the worst possible overhang, and sags before it curves up. If you want a soft look on the underside, chamfer first and round only the chamfer's lower edge.
Also an AI request: "chamfer the underside of the ledge at 45°".
Why inside corners want a fillet
Cracks start at sharp inside corners, and on a printed part they run along a layer. A fillet of 1 to 3 mm at the junction of a wall and a floor, or between the two legs of a bracket, spreads the load across more layer lines. It is the single best strength-per-gram change on a bracket.
In SpeakCAD a pocket you cut with Cut has a Corner radius field in its own card, so the inside corners of a rectangular pocket are rounded by hand. The fillet between a wall and a floor, or between a bracket's legs, is an AI request: "add a 3 mm fillet between the upright and the base".
The honest line
To be exact about what the hand tool does: Round rounds the corners of a part's outline, the edges that run parallel to the direction you tapped from; a pocket you cut by hand gets its own corner radius on the Cut card. It does not fillet a single edge, and it does not round the top edges of a box. The card says so under the slider, and its button, Ask the AI to round just this edge, writes the sentence into the chat for you. Sending it is 2 credits. Everything in the table that is a fillet along one edge or a chamfer is that kind of request; everything that is a corner of an outline is a slider.
Sizes that work
- Fillet on vertical corners: 2 mm on a small part, 4 to 6 mm on a case, never more than half the smallest dimension.
- Chamfer at the bed: 0.4 to 0.6 mm for a tight-fitting part, up to 1 mm for a big flat base.
- Chamfer under an overhang: 45°, as deep as the ledge is thick.
- Inside fillet: 1 mm in a pocket, 2 to 3 mm on a structural junction.
- Hole countersink: 0.5 mm at 45°, more for a countersunk screw head (match the screw).
Putting it together on one part
Start from a Plate, 80 by 50 by 4 mm. Round, tap the top, radius 5, Apply: the vertical corners, done by hand. Hole at each corner, M4, Through: four holes, by hand. Then one line to the AI: "chamfer the bottom edge 0.5 mm and countersink the four holes 0.5 mm". That line is 2 credits. Download: the plate with AI work in it spends 4 credits; without the chamfer line it would have downloaded free with a free account. Print it flat; it will not lift, it will not bulge, and the screws will sit down.
The guide to rounding corners walks through the Round tool step by step, and the print-ready design rules cover overhang angles and wall thickness.
Questions
At an inside corner, a fillet: it spreads the stress across more layer lines, where a chamfer leaves two smaller sharp corners. On an outside edge, neither adds strength; the choice is about printing cleanly and comfort.
That is elephant's foot: the first layer is squashed into the bed for adhesion. A 0.4 to 1 mm chamfer at the bottom edge hides it. Lowering the first-layer flow or raising the nozzle a touch helps too, but the chamfer works on every printer.
In SpeakCAD the Round tool rounds the corners of a part with a slider, free, and a pocket you cut by hand gets its own corner radius. A fillet on a single edge or on the top edges of a box is a sentence to the AI, 2 credits per request.
Fillets on vertical corners and on top edges print without support. A fillet on an edge that faces down over air starts almost horizontal and sags; use a 45° chamfer there instead, or print the part the other way up.