Print, test, fix: the three-print loop that replaces CAD skill
Experienced designers get fits right by knowing the numbers. Everyone else prints twice. How to run that loop cheaply, and what to say after each print.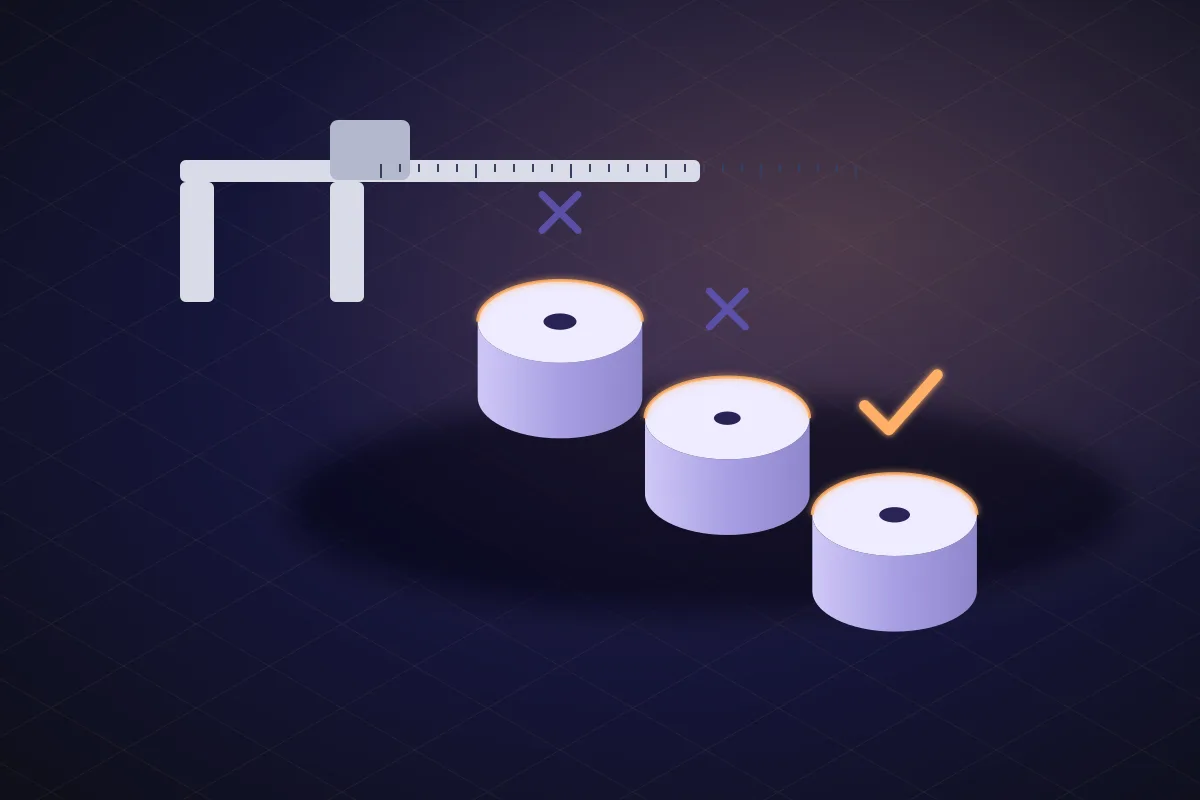
What experience actually is
A designer who has printed a hundred press fits knows that a 6 mm shaft wants a 5.85 mm hole in PLA on their printer. That number is the skill. You do not have it yet, and no tutorial gives it to you because it depends on the printer, the filament and the day.
There is a way around it: print, measure what is wrong, say so, print again. Two prints replace the number you did not know, and the second print is usually right. The trick is making each loop cheap in time and in credits.
SpeakCAD now runs this loop for you: Fit Check cuts the test coupon from your model, takes the verdict as three buttons (too tight, perfect, too loose) and saves what it learnt as your printer's calibration, so the next part starts from the right number. What follows is the manual version, still useful for fits you want to measure yourself.
Print 1: the first guess
Describe the part. The AI applies default fits (about 0.2 mm for a press fit, 0.4 to 0.6 for a slide, 0.2 mm clip interference) and prints as flat as possible. Do not agonise over the numbers; the point of print 1 is to find out what your printer does with them.
If the part is big, ask for a test coupon instead: "just the section with the shaft hole, 10 mm tall". It prints in ten minutes instead of two hours and tells you the same thing.
Test: measure the miss, not the feeling
"Too tight" is not enough to fix it well. Push the shaft in as far as it goes and measure how far it did not go, or measure the printed hole with callipers. A hole that measures 5.7 mm for a 6 mm shaft needs 0.3 mm; a lid that will not close because the clips are 0.4 mm proud needs 0.4 mm. Ten seconds of measuring turns a guess into a number.
Fix: say the number
Each one is a single named dimension changing. The ghost of the previous version shows that nothing else moved. This is where a parametric model beats a mesh: you are editing the number, not rebuilding the hole.
Small fixes like these re-download free after you have paid for the first download, so the loop costs one download no matter how many rounds it takes, plus 2 credits for each fix you ask the AI for. Typing the number in the viewer, or answering Fit Check, is free.
Print 2: usually the last
Print the coupon again, or the whole part if the coupon passed. If it fits, download the full model. If it is now a shade loose, split the difference ("open by 0.15 instead of 0.3"). Two prints is normal, three is the most it should take, and after a few parts you will know your printer's number for the common fits and can put it in the first prompt.
Write down what you learn
Keep a note on the phone: "my printer: holes print 0.25 small in PLA, 0.35 in PETG; clips want 0.15 interference". Paste the relevant line into future prompts and print 1 becomes the last print more often than not. That note is the experience, and you got it in two evenings instead of two years.
What the loop does not fix
Wrong measurements. If the shelf is 18 mm and you typed 16, the fix is to measure again, not to add clearance. The AI can only be as right as the numbers; the loop finds printer error, not tape-measure error. When in doubt, measure the mating part twice.
The economics
Coupon prints cost minutes and grams, and the Fit Check coupon downloads free as STL or 3MF. Typing a number in the viewer is free, a chat fix is one request (2 credits, 1 for a quick edit that changes a size), and every plan includes the downloads. A part that takes three loops costs no more in files than a part that took one. The only thing you spend is the willingness to print something that might not fit, which is exactly the thing experienced designers have already spent.
Prompts to start from
Open one in the builder, change the numbers to yours, and the model renders in your browser, usually within a minute or two. Keep adjusting in the chat before you print.A press-fit cap for a 22 mm tube, 15 mm tall, 2 mm walls, 0.2 mm interference. Also give me just a 6 mm tall ring of the same fit as a test coupon.
A hinge for a 3 mm lid with a 4 mm pin and 0.4 mm clearance, two knuckles 20 mm long. Also give me one knuckle pair alone as a test print.
Questions
Measure the miss with callipers rather than guessing, then tell the editor the number: open the hole by 0.3 mm, thin the clip arms by 0.2 mm. The change is applied to that one dimension and the corrected file re-downloads free. Typing the number in the viewer is free; asking the AI for it is one request (2 credits).
Two is normal, three at most. Print a small coupon of just the fitting section rather than the whole part so each loop takes minutes.
Not for the file: every plan includes downloads, and without a plan the first download of a design costs 4 credits while small corrections such as clearances and thicknesses re-download free, however many rounds it takes. Asking the AI for a fix is one request (2 credits, 1 for a quick edit such as a clearance); typing the number in the viewer or answering Fit Check is free.