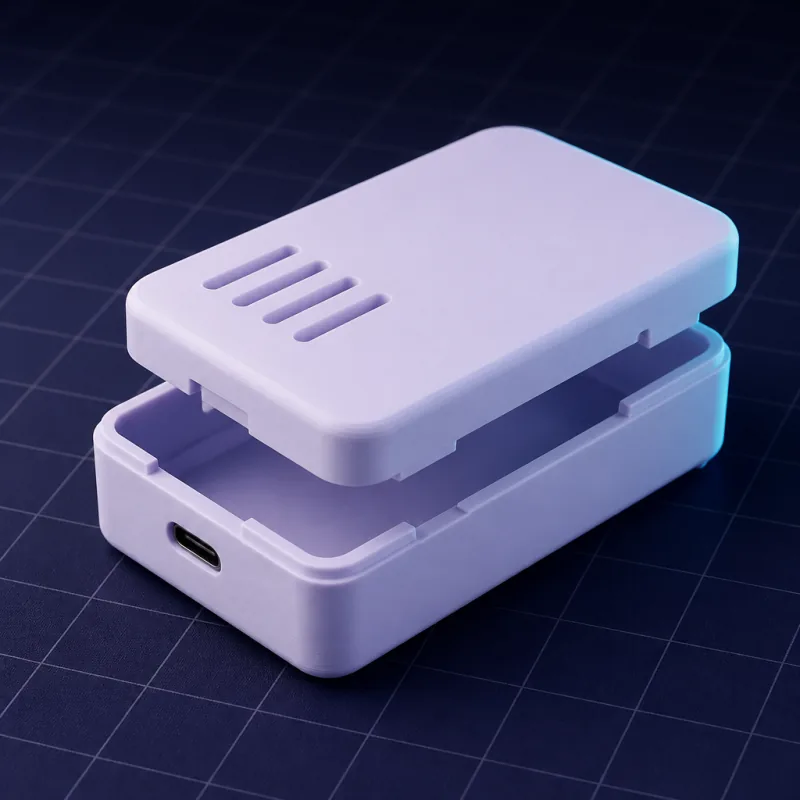
Use case
Individuelle Elektronikgehäuse und Projektboxen generieren
Jedes Elektronikprojekt endet mit derselben Pflichtaufgabe: einer Box. Parametrische Gehäusegeneratoren gibt es, aber sie hören bei einem Rechteck auf. SpeakCAD lässt dich die Platine, die Anschlüsse, die Lüftungsschlitze und wie der Deckel schließt beschreiben, und dann per Chat verfeinern.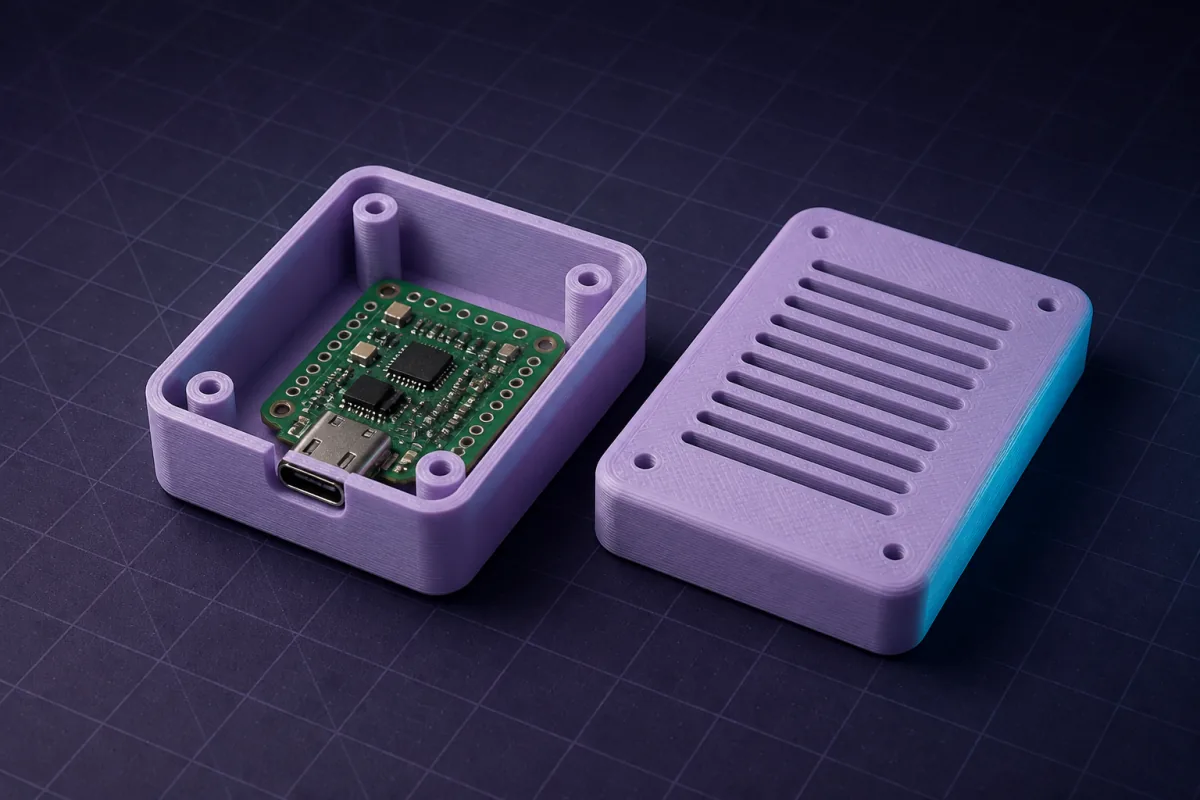
Prompts that work
Copy one, change the numbers to yours, and the model appears in seconds.“Ein zweiteiliges Gehäuse für eine 65 x 30 mm Platine mit 2,5 mm Montagelöchern 3 mm von jeder Ecke, 12 mm Innenhöhe, Schnapp-Deckel, USB-C-Ausschnitt zentriert an einer kurzen Seite.”
“Ein Raspberry-Pi-4-Gehäuse mit 30 mm Lüftergitter oben, Schlitzen für das GPIO-Flachbandkabel und Wandmontage-Schlüssellöchern auf der Rückseite.”
“Eine Sensorbox für den Außeneinsatz: 60 x 40 x 25 mm innen, 2,4 mm Wände, Deckel mit Nut für einen 2 mm O-Ring, PG7-Kabelverschraubungsloch.”
Was einen guten Gehäuse-Prompt ausmacht
Gib die Innenmaße (oder die Platinenmaße plus Spiel), die gewünschte Wandstärke, wie der Deckel befestigt wird und wo die Öffnungen sind. Beschreib Anschlusspositionen relativ zu einer Ecke oder Mitte; die KI platziert sie exakt.
Deckelstile, die SpeakCAD kennt
- Schnapp-Deckel mit Federclips, abgestimmt auf 0,2 mm Übermaß für PLA/PETG.
- Schraubdeckel mit Eckpfeilern, dimensioniert für M2,5- oder M3-Schrauben, oder Heat-Set-Einsätze.
- Schiebedeckel, der in seitlichen Nuten läuft, ideal für Batteriefächer.
- Reibungsdeckel mit 0,3 mm Spiel an der Lippe, für Boxen, die oft geöffnet werden.
Standoffs, Gitter und Ausschnitte
Bitte um Platinen-Standoffs an deinen Loch-Koordinaten, Waben- oder Schlitz-Lüftungsgitter, LED-Lichtleiter, Tasterlöcher, Display-Fenster und Kabelverschraubungen. Jedes davon ist ein Parameter, den du später verschieben kannst: „verschieb den USB-Ausschnitt 3 mm nach links“ ist eine einzige Nachricht.
Eingebaute Druckbarkeit
Gehäuse drucken am besten mit der offenen Seite nach oben und Wänden von mindestens 1,6 mm für Steifigkeit. SpeakCAD richtet Gehäuse und Deckel flach auf dem Bett aus, fügt an den unteren Kanten Fasen gegen den Elephant's-Foot-Effekt hinzu und hält die Clip-Geometrie innerhalb der FDM-Toleranzen.
Examples from the gallery
Questions
Ja. Nenn das Board (Raspberry Pi 4, Arduino Uno, ESP32 DevKit C usw.), und die KI nutzt den bekannten Umriss und das Lochmuster. Prüf das immer gegen deine tatsächliche Board-Revision.
Ja. Clips sind mit 0,2 mm Übermaß und einer 45°-Einführschräge ausgelegt, die in PLA und PETG funktioniert. Wenn dein Drucker breit druckt, bitte um 0,1 mm mehr Spiel.
Bitte um die beiden Teile nebeneinander auf dem Bett und exportier einmal; beide sind in derselben STL/3MF, und du trennst sie im Slicer. Oder bitte um jeweils ein Teil auf einmal.
Enclosure guides by board
DIN rail enclosure, 3D printed: a case for a PCB, relay or Shelly that clips onto a 35 mm railThe clip geometry that snaps onto a 35 mm DIN rail, module widths in 17.5 mm steps, terminal access, and a prompt for a rail-mounted ESP32 or relay housing.Weatherproof 3D printed enclosure for an outdoor sensor: gasket, gland, vents and a promptDesign an outdoor sensor box that keeps rain out and lets air in: O-ring groove, PG7 gland, louvres, screwed lid, PETG. With a prompt for an ESP32 weather node.Enclosures for tiny boards: Seeed XIAO, Adafruit QT Py, ESP32 SuperMini and Feather, 3D printedBoards under 25 mm wide need 1.5 mm walls, antenna keep-outs and room for a USB-C plug. Dimensions for XIAO, QT Py, SuperMini and Feather, plus wearable prompts.STM32 Blue Pill and Teensy enclosures: 3D printed cases for boards with no mounting holesThe Blue Pill (53 x 22.5 mm) and Teensy 4.0 (35.5 x 17.8 mm) have no holes and live on headers. How to hold them with rails or pin channels, and prompts for both.Raspberry Pi Pico case, 3D printed: 51 x 21 mm, holes at 47 x 11.4 mm, BOOTSEL accessThe Pico, Pico W, Pico 2 and Pico 2 W share one footprint. Dimensions, hole pattern, how to keep BOOTSEL reachable, and a prompt for a case under 10 mm tall.Raspberry Pi Zero 2 W case, 3D printed: 65 x 30 mm, the 58 x 23 mm holes and a slim snap caseExact Zero 2 W dimensions, the mini HDMI and micro USB positions, camera ribbon exits, and a prompt for a snap-fit case only 14 mm tall.Raspberry Pi 4 and Pi 5 case, 3D printed: the 58 x 49 mm hole pattern, every port, and a promptBoth boards are 85 x 56 mm with M2.5 holes on 58 x 49 mm, but the ports moved. Port positions for the Pi 4 and Pi 5, cooling options, and a snap-fit case prompt.ESP8266 case, 3D printed: NodeMCU V2 and V3 and Wemos D1 mini enclosuresNodeMCU boards come in two widths and the D1 mini stacks shields. Dimensions for each, how to size a case for a shield stack, and a prompt for a vented sensor box.ESP32 enclosure, 3D printed: DevKit C, DOIT V1, S3 and C3 dimensions and a prompt that fitsESP32 dev boards come in a dozen footprints and most have no mounting holes. How to measure yours, hold it with rails, clear the antenna, and generate the case.Arduino Nano case: a 3D printed enclosure for the Nano, Nano Every and Nano ESP32The Nano family shares a 45 x 18 mm footprint with 1.8 mm corner holes. What changes between versions (USB type, height) and a prompt for a tiny snap case.3D printed Arduino Uno enclosure: dimensions, hole pattern and a prompt that fitsThe exact Uno R3 and R4 footprint (68.6 x 53.4 mm, four irregular holes), where the USB and barrel jack sit, and a ready prompt for a snap-fit case with a shield slot.PCB enclosure generator: get a 3D printed case for any board in minutesTurn a PCB's dimensions, hole pattern and ports into a snap-fit or screwed enclosure you can print tonight. Works for Arduino, ESP32, Raspberry Pi and custom boards.
Related use cases
Replacement partsBroken knob, clip, hinge or foot? Describe it with a few measurements and SpeakCAD generates a printable STL replacement in minutes. 7-day free trial.Brackets & mountsDescribe what you need to hold, where it mounts and which screws you have. SpeakCAD generates a strong, printable bracket as STL, 3MF or G-code sliced for your printer in minutes.OrganizersDescribe your drawer or shelf and what goes in it. SpeakCAD generates dividers, trays, bit holders and bins sized to the millimetre. STL, 3MF or sliced G-code export.